
How to Take Etsy Product Photos That Actually Sell (No Studio Required)
You don't need a professional studio. You don't need a $2,000 camera. You don't even need a ring light.
What you do need are photos that stop a buyer mid-scroll and make them click. On Etsy, your photos are doing 100% of the selling. Buyers can't touch your product, hold it, or check the quality in person. Every decision they make — click or keep scrolling, buy or bounce — comes down to what they see in those listing images.
According to Etsy's own seller data, 40% of new shop owners say product photography is either somewhat difficult or very difficult for them. If that's you, you're not behind. You're normal. And the fix is more straightforward than most sellers think.
Here's what actually moves the needle.
Why product photos do the selling
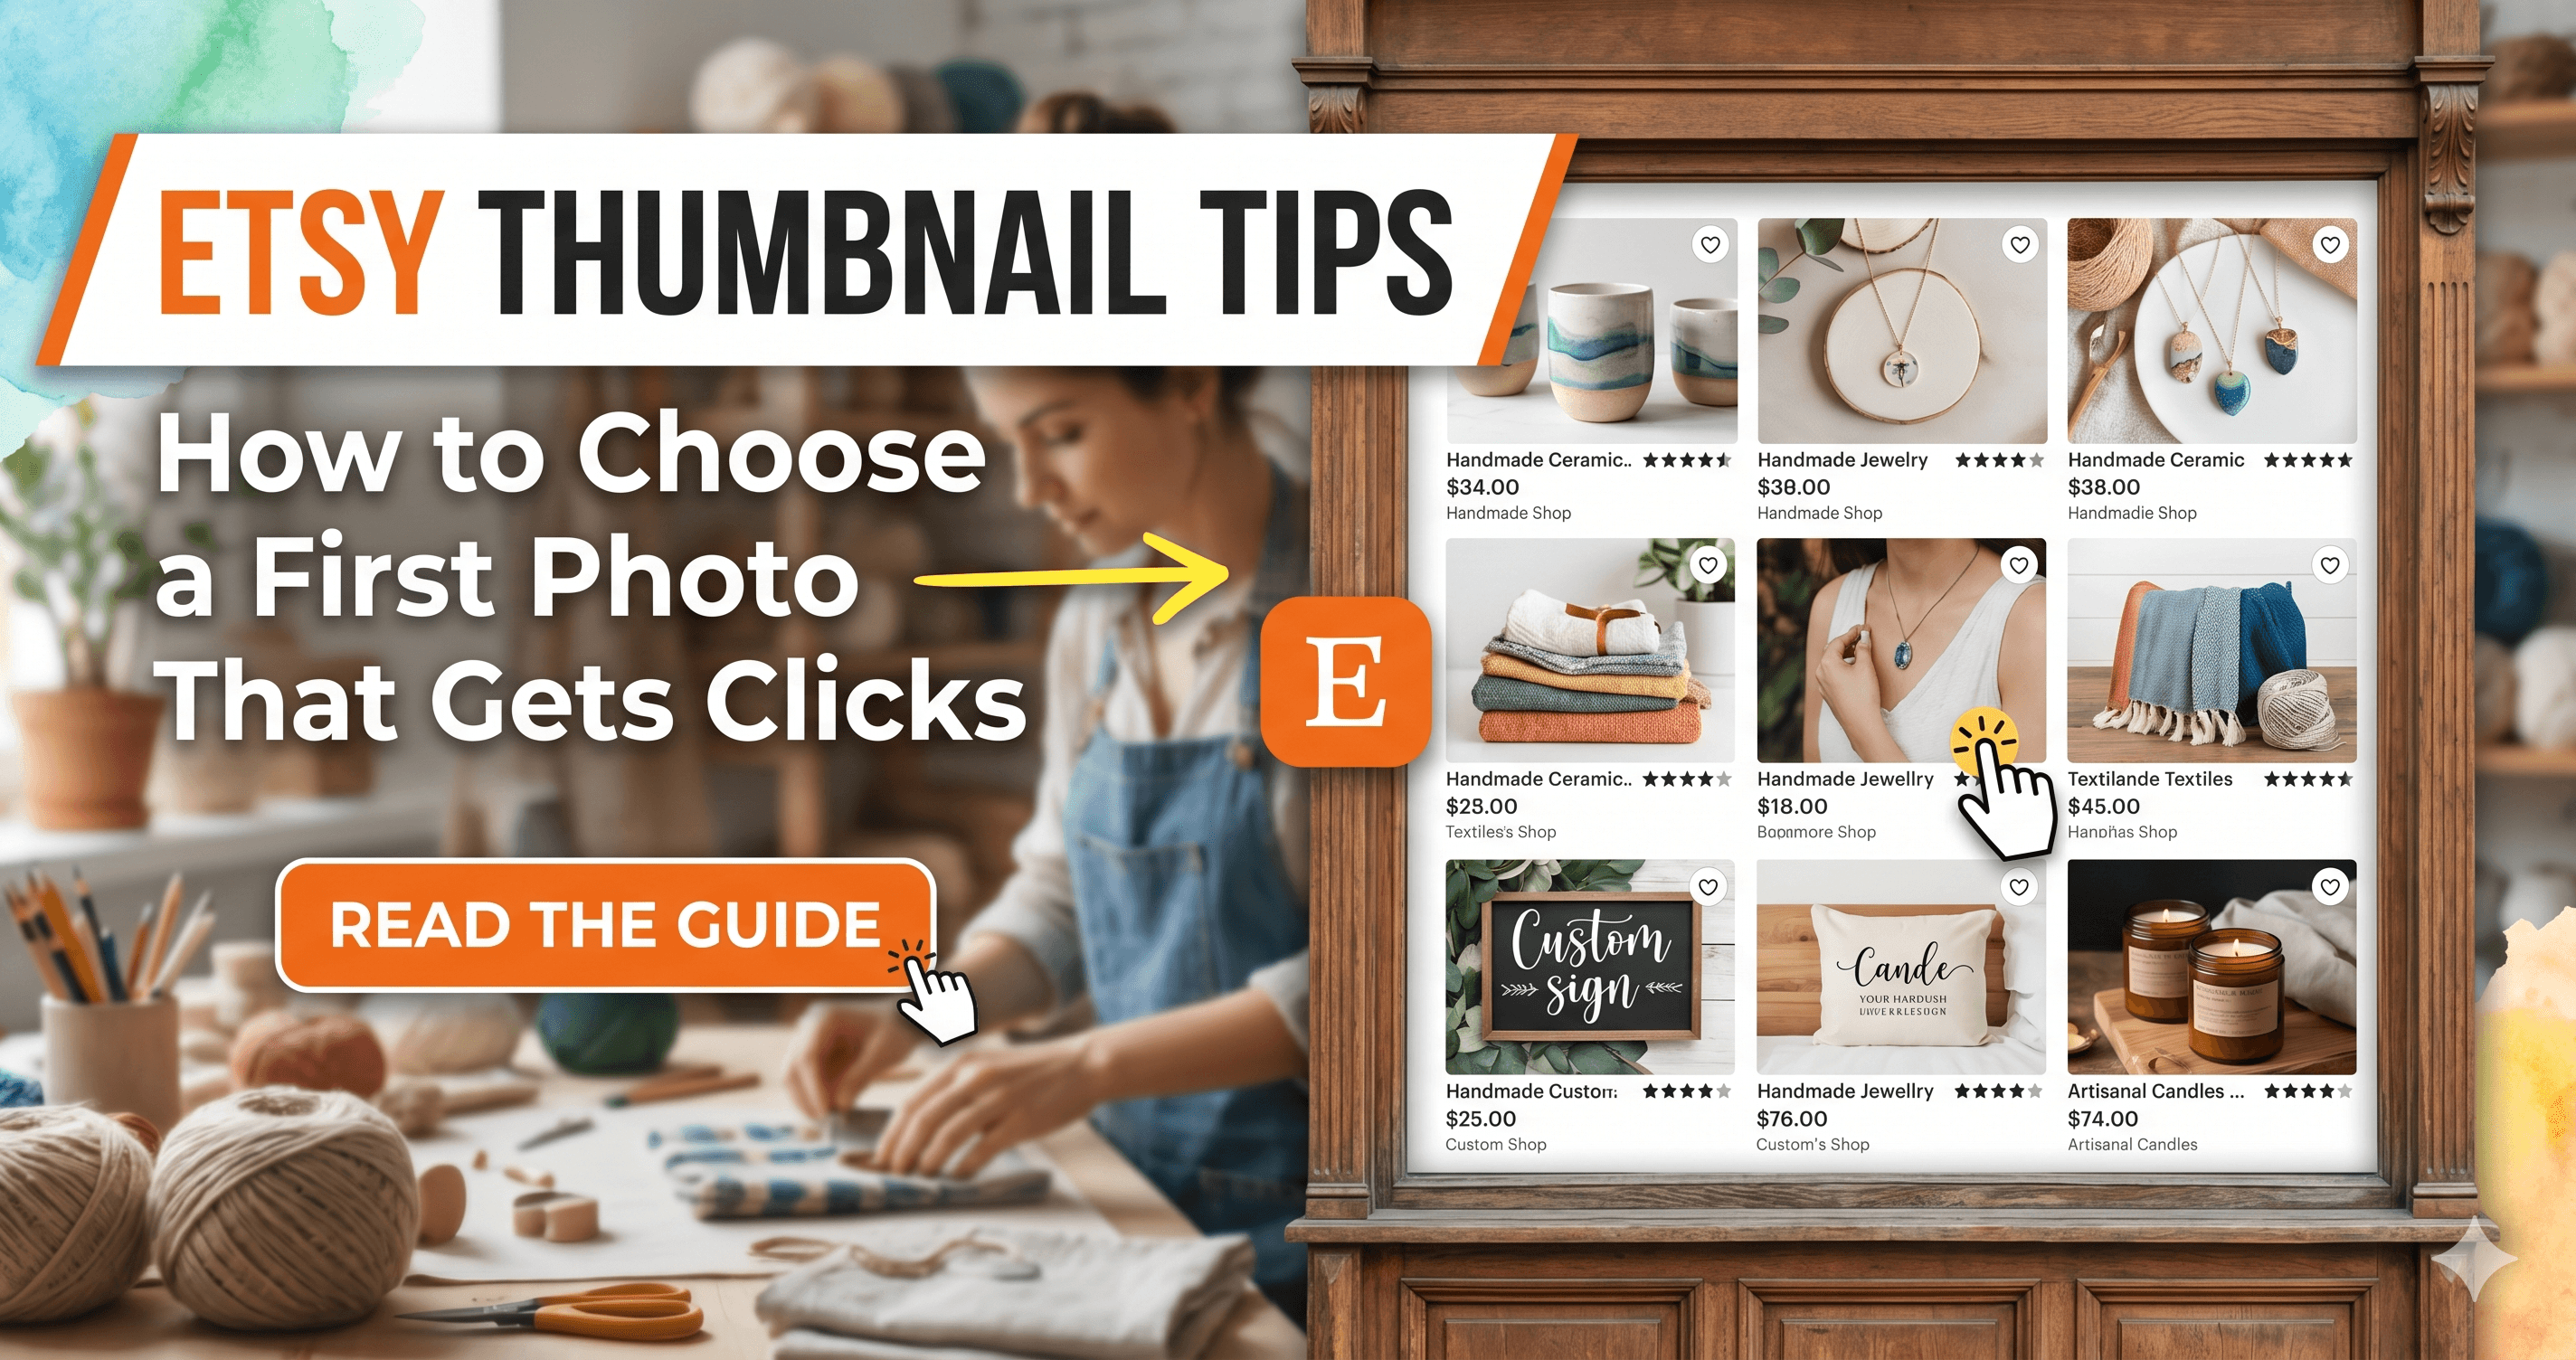
When a shopper searches Etsy, they see a grid of thumbnails. Dozens of products, all competing for the same eyeballs, all in under two seconds of attention. Your main listing photo is the only thing separating a click from a scroll.
But photos don't just get you the click. They also close the sale. Once a buyer lands on your listing, the images you show next determine whether they add to cart or go back to search results. Photos that show scale, texture, lifestyle context, and product detail answer the questions buyers are silently asking before they pull out their wallet.
Listings with high-quality, styled photography receive up to 3x more clicks than those with basic product shots. That gap compounds fast. More clicks mean more signals to the Etsy algorithm that your listing is worth showing, which means more organic placement, which means more clicks. Strong photos aren't just aesthetics. They're growth.
How to photograph Etsy products without a studio
Most sellers upload one or two photos and call it done. That leaves money on the table. Etsy allows up to 10 photos per listing, and using more of them increases your conversion rate because each image removes a reason not to buy.
Here are the five types worth including in every listing.
1. The Studio Shot
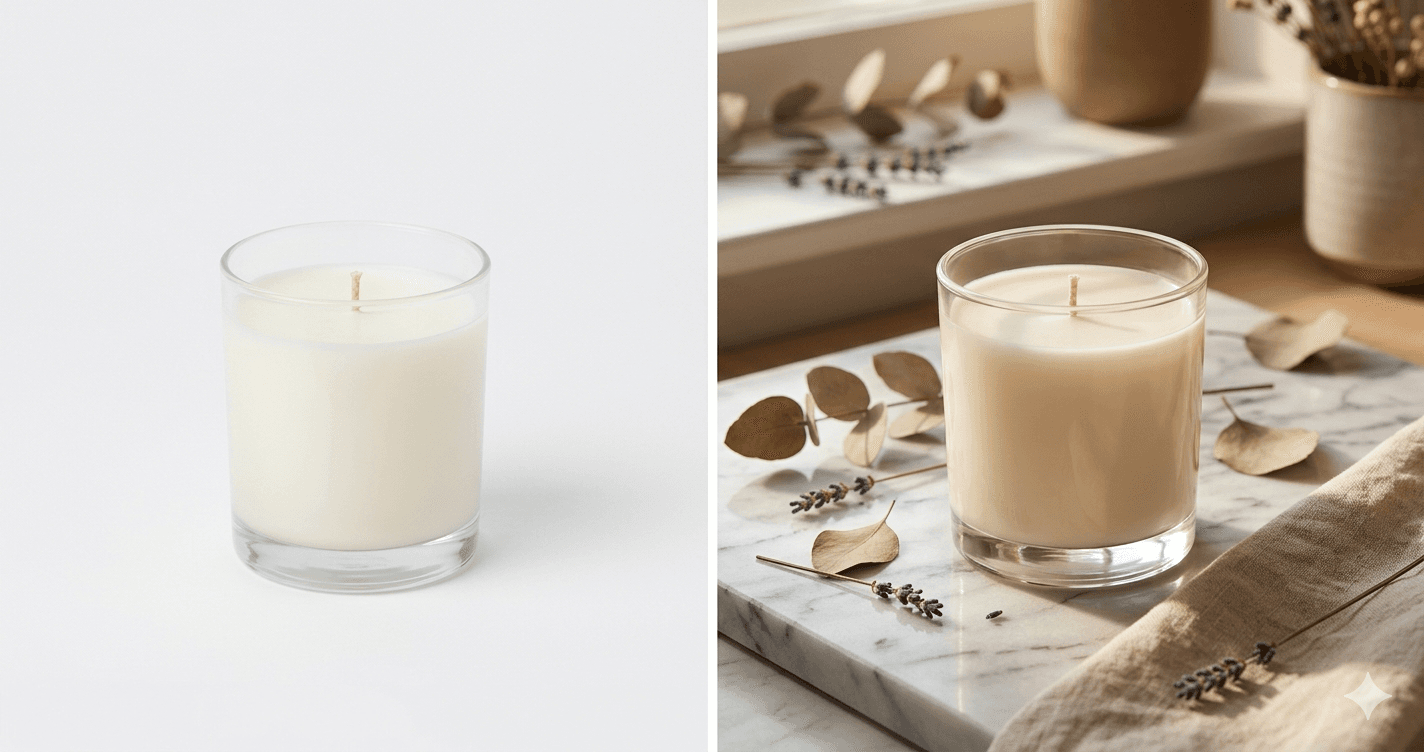
This is your clean, clear, product-against-a-simple-background photo. White, light gray, or beige backgrounds work best. The goal is to show exactly what you're selling with no distractions. This photo often performs best as your main thumbnail because it's easy to read at small sizes in search results.
Keep it bright, keep it sharp, and make sure the product fills the frame without being cropped.
2. The Lifestyle Shot
This is the photo that does the emotional work. A lifestyle shot shows your product in a real or styled setting — on a table, in a room, being worn, being used. It helps buyers picture the product in their own life, which is the moment they go from interested to buying.
Most sellers skip lifestyle photos because they're the hardest to produce. You need props, a styled setup, good lighting, and a space that looks like somewhere a real person lives. If you sell 20 products, that's 20 separate shoots. This is where most sellers either spend money they don't have or skip it entirely and lose the sale.
3. The Close-Up
Texture, stitching, finish, material quality — these details matter to buyers and they can't see them in a wide shot. A tight close-up of the most interesting part of your product builds trust and justifies your price. If you're selling a hand-poured candle, show the wax texture. If you're selling a leather wallet, show the grain.
4. The Scale Shot
Buyers need to know how big your product actually is. An enamel pin looks very different at 1 inch vs 3 inches. A wall print reads differently at 8x10 vs 24x36. Show your product next to a hand, on a table with familiar objects, or on a model. Do not rely on measurements alone. Measurements require mental math. A photo showing scale is instant.
5. The Packaging Shot
This one is underused and surprisingly effective. Showing your packaging signals that you care about the full experience, not just the product. It also reassures buyers that their order will arrive looking like a gift, which matters especially for Etsy shoppers buying for someone else.
Natural light setups that work every time
You can have an average camera and average props, but if your lighting is right, your photos will look professional. If your lighting is wrong, no amount of editing will fix it.
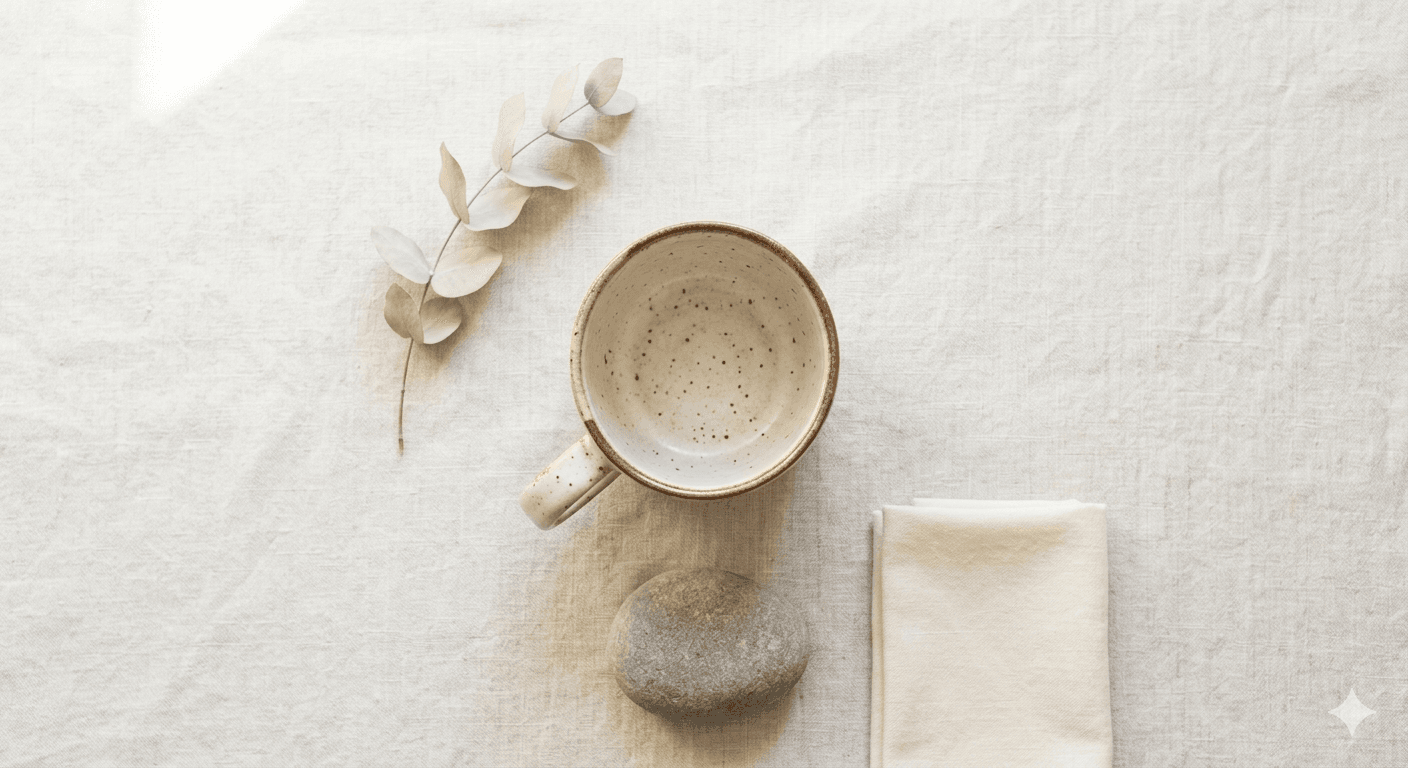
Natural light is free and it works. Shoot near a large window on an overcast day or during morning hours when the light is soft and directional. Direct sunlight creates harsh shadows. A sheer curtain or a white foam board on the shadow side to bounce light back onto your product is enough to give you clean, even shots.
Avoid yellow overhead lighting. It kills color accuracy and makes products look cheap. If you're shooting in the evening, a daylight-balanced LED panel costs less than $40 and produces consistent results.
The goal is light that shows your product's true color and texture without harsh shadows or blown-out highlights. Once you find a setup that works, mark the floor and always shoot in the same spot. Consistency across your listings matters for branding.
Your main image’s one job: stop the scroll
Etsy uses your first listing photo as the thumbnail in search results. That thumbnail is small, often square-cropped, and competing with dozens of others on the same page.
Your main image needs to be:
Clear and well-lit with the product taking up most of the frame Easy to read at thumbnail size (avoid busy backgrounds or collages) Centered on the product with enough border that it survives cropping At least 2000 pixels on the shortest side for sharpness after compression
Etsy recommends 2000px minimum. Listings with correctly sized images see higher click-through rates because they stay sharp on mobile, where most Etsy browsing happens.
Do not use your most artistic or editorial photo as the main image. Use your clearest, most obvious product photo. Save the lifestyle shots for positions 2 through 10 where they do their best work after the buyer has already clicked.
Why lifestyle photos trip up most sellers
Here's the honest version of the lifestyle photo conversation.
You know lifestyle photos work. You've seen the difference between a plain product on white and that same product styled in a beautiful room. You know which one you'd click on. But producing lifestyle photos at scale — for every product, every season, every new listing — is genuinely hard and time-consuming.
A professional product photography session costs hundreds to thousands of dollars. DIY setups require space, props, time, and skills that many sellers don't have. And if you're adding new listings regularly, the photography bottleneck never goes away.
This is exactly the problem that AI photography tools solve. With a tool like ClickReadyAI, you upload one photo of your product and get back 6 photorealistic lifestyle scenes, each one showing your product placed in a styled setting. No studio. No props. No reshooting. The images come out at listing-ready quality and take seconds, not hours.
For sellers with 20, 50, or 200 listings, that changes the math entirely. Every product gets a lifestyle photo. Every listing gets the version of itself that converts.
Your simple weekly photo workflow
If you're adding new products regularly, build a repeatable system rather than treating each listing like a one-off project.
Step 1: Batch your studio shots. Set up your white background and lighting once, then shoot every new product in that session. One hour of shooting covers a week of new listings.
Step 2: Generate lifestyle scenes using ClickReadyAI. Upload each product photo, select the scene styles that fit your brand, and download your 6 images per product. This replaces the most time-consuming part of product photography with a step that takes minutes.
Step 3: Add at least one close-up and one scale shot for each product. These take 5 minutes per product with your phone and the same lighting setup you already have.
Step 4: Upload in order. Main studio shot first, lifestyle photos second and third, close-up and scale shots after that, packaging last.
Step 5: Review your first image as a thumbnail. Zoom out to 30% on your browser and look at how it reads against similar listings. If it doesn't stand out, try a different crop or background tone.
Done consistently, this workflow means every listing you publish has 6 to 8 strong photos and a lifestyle image that gives it a real shot at converting.
Quick pre-launch photo checklist
Before publishing any listing, run through these:
Main image is clear, bright, and reads well as a small thumbnail
At least one lifestyle shot is included
A close-up showing texture or detail is included
Scale is communicated in at least one photo
All images are at least 2000px on the shortest side
No harsh shadows or yellow-toned lighting
Background is clean and not competing with the product
Packaging is shown if relevant to your brand
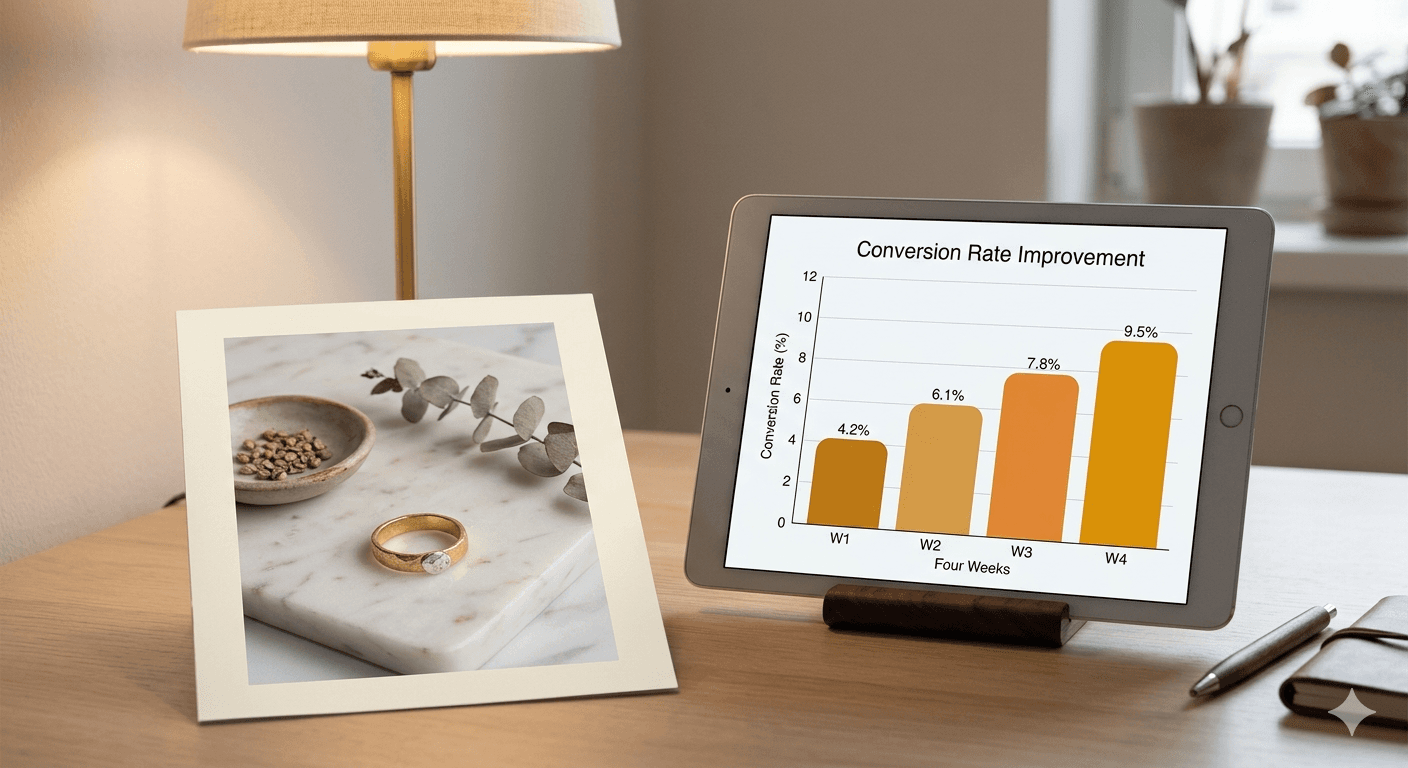
Product photography is the one area where small improvements produce immediate, measurable results. Better photos lead to more clicks. More clicks lead to more sales. More sales improve your search placement. It compounds.
You don't need a studio to get there. You need a system.
Ready to add lifestyle photos to every listing without a single photo shoot? Try ClickReadyAI free and get 6 photorealistic scenes from one product photo.